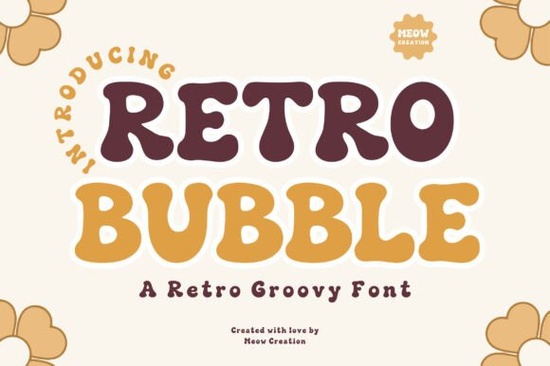
If you are looking to add a cheerful, nostalgic touch to your spring graphics or vintage apparel, the Retro Bubble Font is a fantastic choice. This typeface features soft, rounded letterforms that capture the playful essence of 1970s typography. Whether you are designing Easter cards, St. Patrick’s Day apparel, or everyday stickers, its bubbly vintage feel brings immediate warmth and personality to your projects. It is highly versatile, making it a reliable tool for both digital layouts and physical print materials.
What makes this typeface ideal for seasonal and retro projects?
The 1970s design era is widely known for its optimistic, flowing, and colorful aesthetics. This specific typeface captures that exact mood through its thick, rounded edges, which make it highly legible while maintaining a soft, approachable look. For seasonal crafters, it works beautifully for pastel-colored Easter invitations featuring floral elements or vibrant green St. Patrick’s Day posters with retro clovers. Because the letterforms are so distinct and bouncy, they stand out naturally on social media feeds without needing heavy drop shadows or complex background graphics to grab attention.
How can print-on-demand sellers use it effectively?
For print-on-demand sellers, typography is often the main selling point of a product, especially in the retro and vintage niches. When creating graphic tees, pairing a bold primary typeface with a secondary option can create a balanced, professional layout. If you need a complementary style for your shirt designs to create a cool layered or 3D effect, you might explore thick outline styles to sit perfectly behind the main text. The smooth, rounded nature of this groovy font also translates exceptionally well to die-cut stickers, vinyl decals, and ceramic mugs, where continuous curves are much easier to weed and apply than sharp, jagged edges.
What are the best practices for pairing it with other styles?
Mixing fonts can be tricky for beginners, but the golden rule is to aim for visual contrast. Since this typeface is heavy, rounded, and highly decorative, it pairs best with simpler, cleaner scripts or structured, easy-to-read serifs. If your project requires a more traditional academic or sports vibe, you could switch to classic collegiate styles for the secondary text to ground the design. Alternatively, if you want to maintain a bold, heavy aesthetic throughout your poster, mixing it with stylish chunky alternatives can create a striking, cohesive look for concert flyers or event banners. For softer, more delicate projects like baby shower invites or nursery wall art, pairing it with delicate shining scripts adds a nice touch of elegance and balances the visual weight.
How do small businesses use it for everyday branding?
Small businesses in the food, beverage, and lifestyle sectors can use this typeface to build a friendly, welcoming brand identity. A local bakery, a quirky coffee shop, or a handmade soap company can use these rounded letters on their packaging, storefront signs, and social media headers. The nostalgic vibe implies a sense of heritage and comfort, which helps build trust with customers. Just remember to keep the text short and punchy when using it for logos or primary headers, as the thick letterforms can become difficult to read if you try to fit too many words into a small space.
How do I prepare the files for commercial printing?
When sending your designs to a commercial printer or uploading them to a POD platform, proper file preparation is crucial for a high-quality result. Always convert your text to outlines or paths before exporting your final file. This prevents the printing software from substituting the font if it is not installed on their specific system. Additionally, ensure your canvas size matches the final print dimensions at 300 DPI to keep those smooth, bubbly edges crisp and completely free of pixelation.
Quick checklist before you export your design:
- Convert to outlines to lock in the letterforms and prevent unexpected font substitution at the printer.
- Check your color profile by using CMYK for physical print products and RGB for digital screens and social media.
- Verify the resolution is set to at least 300 DPI to ensure the curves remain smooth and sharp.
- Test the contrast by printing a small physical sample on the actual material or paper stock you plan to use.
- Keep it brief by limiting the text to a few words or a short phrase to maintain maximum readability.
Start by creating a simple mockup with just the typeface and a solid background color to see how the curves interact with your chosen palette before adding complex illustrations.
Get Started Creative Vintage Font Projects for Modern Designs
 Design with the Greek Odyssey Font
 Funky Groovy Fonts for Creative Projects & Design
 Vintage College Font Styles for Modern Design
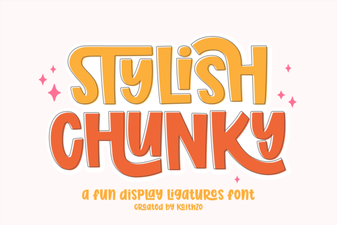 Chunky Font Designs for Bold Web Projects
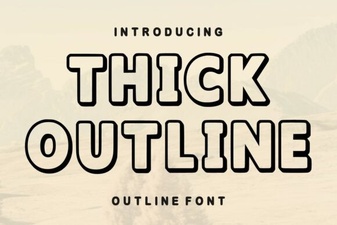 Thick Outline Fonts: Bold Design Styles & Uses